EPD2HexCompress.exe 2.00 - Deprecated
… visits


Deprecated / superseded: EPD2HexCompress.exe has been superseded by PositronPixelFoundry.
This page is retained for users of the earlier application and for historical reference. For new image-conversion work, use Positron Pixel Foundry and its detailed User Manual.
The retained legacy material below reflects the final 2.x documentation page and may identify its last maintenance build as 2.01.
PositronPixelFoundry overview | Compression Explained
BW/BWR/BWY Picture to HEX & Compression Tool for EPD EPD2HexCompress
(Current version 2.01)
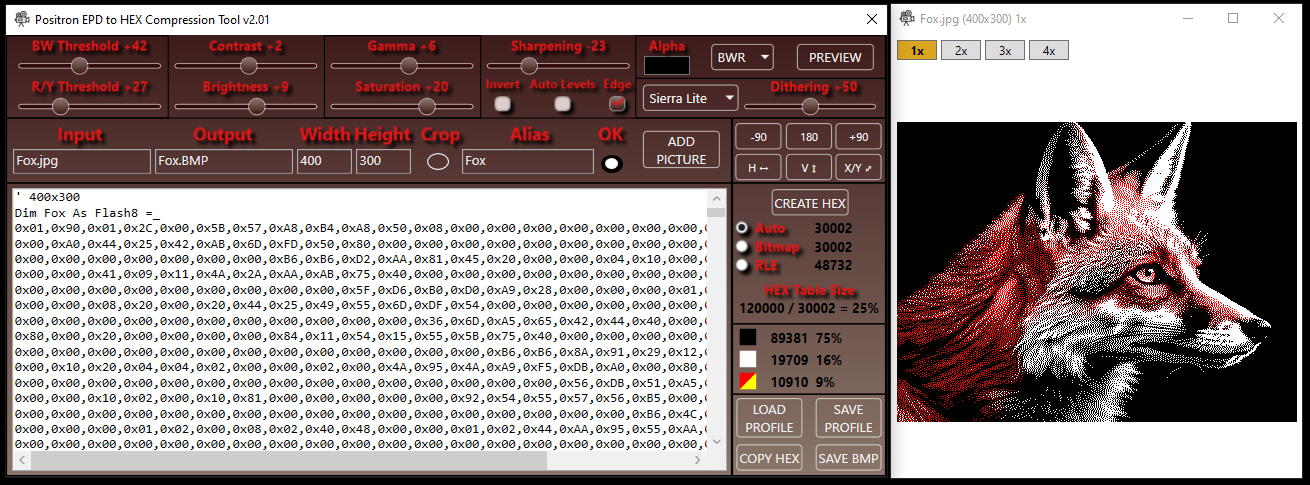
This tool converts any picture media supported by FFmpeg into a HEX data table for Positron.
It is specifically designed for pictures destined for Black/White, Black/White/Red, or Black/White/Yellow EPD displays.
This is not a general picture-to-black-white-red/yellow converter — those are readily available online with many options.
The purpose of EPD2HexCompress.exe is to take control of exactly how a picture is reduced to your panel's actual color set, then pack the result into a compressed HEX flash table, with full visibility into the size and quality trade-offs along the way.
Version 2.00 is a complete redesign from 1.00: a live preview window, a full image-adjustment pipeline, thirteen dithering algorithms, adjustable classification thresholds, three EPD panel types instead of one, per-method compression comparison, and settings profiles.
Everything below reflects the current tool.
Panel types - Select the target panel from the dropdown:
The panel type determines whether a color plane is generated at all, and which color the Red/Yellow classification targets.
Classification - adjustable, not fixed:
Both sliders update the live preview immediately, so you can watch the classification change in real time rather than guessing and re-exporting.
Every slider in the tool also responds to the mouse wheel — hover over one and scroll to nudge its value by 1, without needing to click it first.
Transparent pixels are no longer discarded or left to chance. Pick a background color (via the color swatch) and every transparent pixel is flattened to that exact color before classification — cleanly, with a hard edge (no half-transparent fringing), regardless of how soft or anti-aliased the source image's alpha channel is.
Before classification, the source image can be run through a full adjustment chain — genuinely useful once you're feeding it photographs or gradient artwork rather than only flat icons.
Every adjustment updates the live preview instantly.
Where 1.00 had no dithering at all and expected near-flat-color source art, 2.00 adds a full dithering engine for anything with genuine gradients or photographic tone — thirteen algorithms plus an off setting, selectable from the Dithering dropdown.
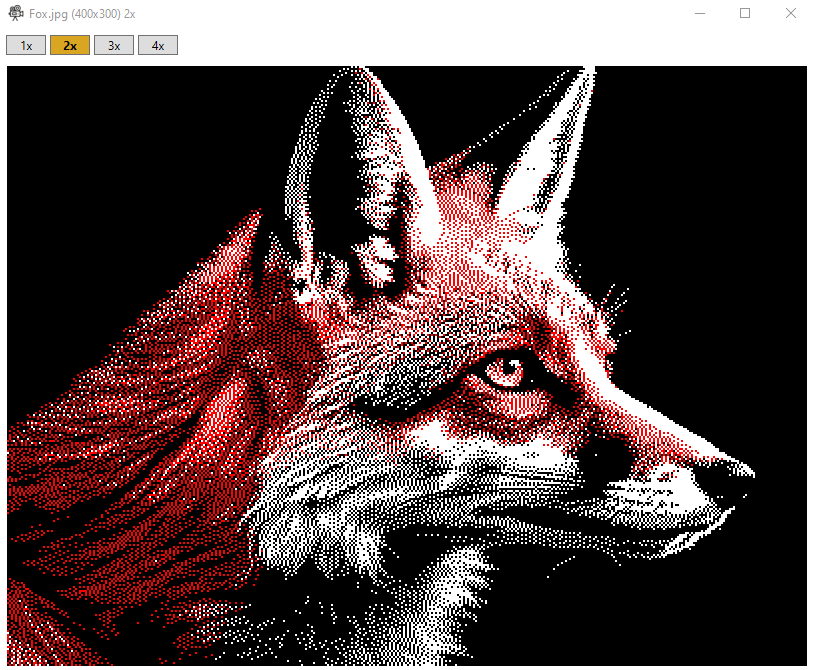
Clicking PREVIEW converts and classifies the current image with all current settings and opens a live preview window:
Output transformations:
Once a preview is open, the six buttons let you reorient the classified result directly — geometry only, applied instantly to the already-processed image with no reconversion from the source picture.
Each of these carries through to the HEX table and to Save BMP — whatever orientation the preview shows is exactly what gets exported.
They are not saved in settings profiles, since orientation is treated as a per-picture choice rather than part of a reusable adjustment "look."
Below the preview controls, three figures update continuously as you adjust settings:
What this percentage means: it's the combined byte count from both planes divided by the total pixel count (width × height of the resized image) — in effect, "what fraction of a standard, saved BMP file's size does the compressed result use."
The 1-byte-per-pixel baseline isn't arbitrary: a standard BMP saving three discrete colors (black, white, and red or yellow) would naturally use 8-bit indexed color — one byte per pixel, giving access to a 256-color palette even though only 3 of those slots are actually used — since that's the smallest standard BMP pixel format capable of holding more than two colors.
So this percentage is a genuine, real-world comparison: how much smaller is the compressed HEX table than simply saving the same image as an ordinary 8-bit, 256-color BMP.
These figures reflect whatever is currently in memory and remain visible even after closing the preview window; they're cleared only when a new picture is loaded.
Data in the table is compressed using an adaptive per-plane scheme. The Black/White plane and the Red/Yellow plane are compressed independently, so each can use whichever mode suits its own content:
Choose how each plane's mode is picked, via the radio buttons:
The three HEX-byte-count figures in the live statistics area let you see exactly what each choice would cost before picking one.
Once you've dialed in an adjustment chain you like, SAVE PROFILE writes every slider, the dithering type, and the three checkboxes above to a plain text .ini file — not the panel type, and not the compression method, since those are treated as per-session/per-panel choices rather than part of an image-processing "look."
LOAD PROFILE restores a saved profile in one step. If a picture is already loaded, the preview updates once, after every value has been restored — not once per slider — so loading a profile doesn't flash through a dozen intermediate states.
SAVE BMP writes the currently previewed image to disk as a native RGB565 BMP — the exact classified colors, at full native resolution regardless of what zoom level the preview window happens to be showing.
Useful as a reference file, or for reloading later to pick up exactly where you left off.
The resulting HEX table is written to a text file in the TEMP subfolder (which opens automatically after conversion) and is also displayed directly in the tool, ready to COPY to the clipboard.
Paste this data into your Positron program file to be used by the library commands.
Created with the Personal Edition of HelpNDoc: Maximize Your Reach: Convert Your Word Document to an ePub or Kindle eBook